Last spring, I took a class for this quilt, Floating Triangles. It's a fast, easy quilt to do and I thoroughly enjoyed it. It's a perfect pattern for a "layer cake" fabric bundle (10-inch squares). I purchased this one on eBay. At first, I didn't like the colors very much because it's sometimes hard to tell on the internet. And that's also why it's sat unfinished for nearly 6 months.

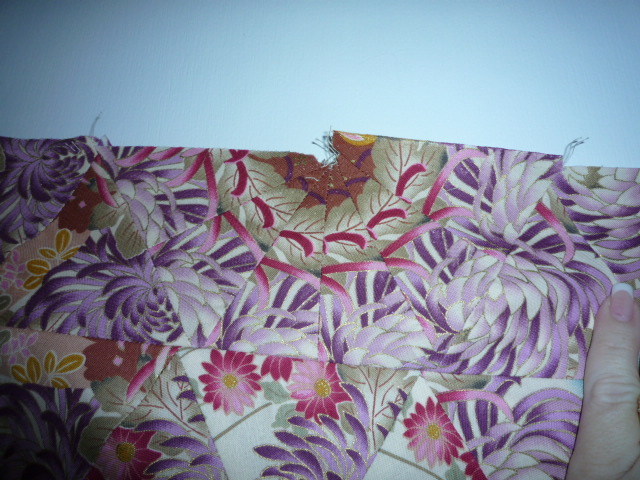
Using a paper template, the squares are cut into 4 pieces and then sewn back together using a center triangle from one of the other blocks. It's really easy to put together. The pattern calls for 25 blocks, a narrow stop border and a wide outer border.

I don't follow instructions very well because I used all the squares in the layer cake (42), put on a 2-inch stop border and a 3 1/2-inch outer border.

I thought it turned out very well until I realized there were 2 big "mistakes." One was that the stripes in the backing were going crosswise instead of lengthwise. The other is that the top thread I was using to quilt is actually thread for embroidery machines! And I've used it on not 1 but 3 quilts!!! Is there such a thing as a perfect quilt? Or will I ever learn all the "right" ways to make them? Maybe I should just quit sweating the details and enjoy the process.
P.S. When folding the quilt to put it away, I discovered that one end was a 1/2-inch wider than the other. I thought I'd squared it up properly before adding the binding, but I wonder how that happened? Stretching during the quilting process maybe?